Delamination: warning signs
Delamination: warning signs: practical numbers, costs, and trade-offs, written independently.
Delamination: warning signs: practical numbers, costs, and trade-offs, written independently. The guide below shows the numbers and the trade-offs.
- Typical range
- Varies by system and site
- First step
- Measure the space and confirm the load
- Professional help
- Recommended for structural or electrical work
Some links on this page are affiliate links.If you buy through them we may earn a commission at no extra cost to you. We do not accept payment for rankings. Read the full disclosure.
Delamination is the separation of a pool’s finish layer from the shell underneath, and the first reliable sign is sound rather than sight: a hollow thud when you tap the plaster with a knuckle or a plastic screwdriver handle. Visible clues follow — hairline cracks in a map-like pattern, dark patches that stay wet after the rest of the pool dries, and flakes of finish collecting in the skimmer. Caught early, delamination is a patching job. Left alone, it usually becomes a full resurface.
What delamination actually is
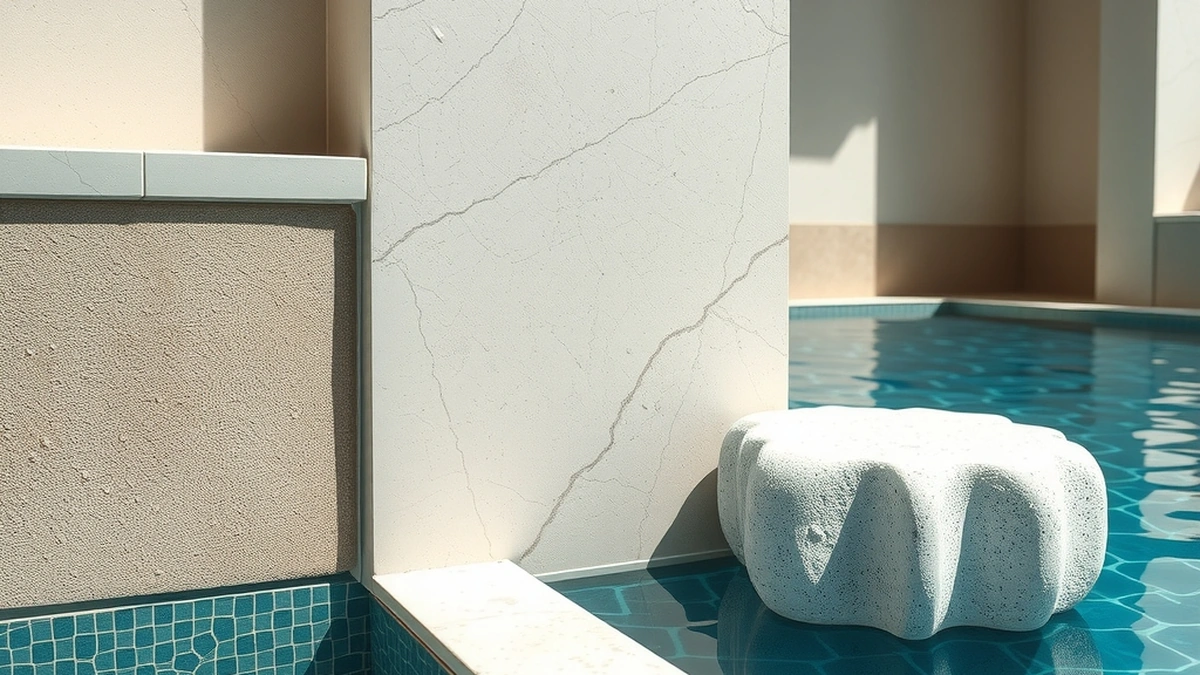
Delamination is a bond failure between two layers of the pool interior — typically the plaster or aggregate finish and the cementitious base or shell it was applied over. The top layer is still there, but it is no longer attached, so water gets behind it and the gap grows with every freeze-thaw cycle and every season of chemistry.
That distinction matters when you are deciding what to do. Staining, scale, and crazing are surface conditions. Delamination is a structural separation, and no amount of brushing, balancing, or acid washing reattaches it.
The signs, in the order they usually appear
The earliest warning is a dull, hollow note when you tap the finish. Sound plaster over a solid shell gives a short, hard tap; a delaminated area sounds like a drum.
Next comes a pattern of fine cracks that looks like a dried riverbed or a map. These are not the long, single cracks that follow a structural joint — they are short segments that connect at angles, often over a patch of a few square feet.
Then the appearance changes. Delaminated patches hold moisture and read darker than the surrounding finish, or they show a white bloom where water is pushing minerals out from behind the layer. At the waterline and on steps, edges may begin to lift and flake.
By the time flakes show up in the skimmer basket or on the pool floor, the separation is advanced. The finish is coming off in pieces, and the exposed layer underneath is usually rough and porous.
The numbers
Repair costs depend on how much area has let go, but the resurfacing figures frame the decision:
- White plaster resurfacing: $4,000 to $10,000
- Quartz aggregate: $6,000 to $12,000
- Pebble finish: $8,000 to $15,000
- Fibreglass overlay: $5,000 to $12,000
- Tile replacement: $1,500 to $5,000
- Acid wash: $400 to $800, and it is not a resurface
A localized patch is priced by area and access, and a contractor will quote it after inspecting. The point of the figures above is the ceiling: once the delaminated area is large, patching stops being economical and the job becomes a resurface.
Delamination versus the look-alikes
| Condition | What you see | What it is | Fix |
|---|---|---|---|
| Delamination | Hollow tap, map cracking, flakes | Finish detached from shell | Patch or resurface |
| Staining | Brown or gray discoloration | Metals or organics in the water | Chemistry, sometimes acid wash |
| Scale | Chalky white crust | Mineral deposit on the surface | Balance, brushing, light acid wash |
| Crazing | Fine surface cracks, no hollow sound | Shrinkage in the plaster skin | Monitor; resurface when widespread |
| Structural crack | One long crack, often at a joint | Movement in the shell | Structural repair |
The tap test is what separates the first row from the rest. If the surface sounds solid, the problem is cosmetic and the fix is cheap. If it sounds hollow, the problem is the bond and the fix is not.
Testing a suspect area
- Drain the pool below the suspect patch, or wait for a water change, so you can reach it safely.
- Tap the area lightly with a plastic handle in a grid, about a foot apart, and listen for the change in tone.
- Press the edge of a plastic scraper against the finish at the boundary. Loose material will lift or crumble.
- Photograph the area with something for scale, and note how many square feet sound hollow.
- Have a plasterer confirm before you commit to a scope. A second opinion on area is worth the visit.
Do not pry at the finish with a metal tool. You can turn a small separation into a large one, and the piece you break off is the piece the contractor needs to see.
Why it happens
Bond failure almost always traces back to the application. A finish applied over a dirty, wet, or dusty substrate will not grip. A base coat that dried too fast in sun or wind forms a skin that the next layer cannot bond to. A shell that was not prepared — no bond coat, no roughness, no moisture control — gives the plaster nothing to hold.
Water chemistry contributes over time. Water that is persistently out of balance etches the surface and works its way into hairline cracks, and each cycle widens the gap behind the finish. That is a slow process, not a sudden one, which is why delamination usually shows up in a pool that is eight to fifteen years past its last resurface rather than in a new one.
What the repair involves
A patch starts with removing every square inch of finish that has lost its bond — not just the visibly loose part. The exposed shell is cleaned and, where needed, ground back to sound material, then a bond coat is applied and the area is refilled with a matching finish and cured.
A full resurface follows the same logic across the whole pool: chip out the old finish, prepare the shell, apply the new material, and cure it under water. That is why the cost jumps so sharply between a patch and a resurface, and why catching the problem while it is still one patch is worth the inspection.
Where to go next
If the tap test comes back hollow, the next step is a quote, not a chemical. Pool resurfacing cost breaks down the full-job figures, and pool plaster repair cost covers the patch side. Signs a pool needs resurfacing lists the other symptoms that point the same way, and pool resurfacing options compares what goes back on once the old finish is off. For the finish itself, start with plaster vs quartz.
Frequently asked questions
What is the most important measurement?
Start with the ceiling or clearance number; it decides which systems can fit.
What does a typical project cost?
Costs vary by system and site access; the guide shows the line items and a planning range.
Can I install this myself?
Some tasks are DIY-friendly, but structural, electrical, and load-bearing work should be done by a licensed professional.
How long does installation take?
A simple setup is a weekend; a full build with electrical or structural work can take several weeks.
What should I check before buying?
Confirm dimensions, load ratings, and the manufacturer's installation requirements for your exact model.
Where can I find local help?
Ask a licensed contractor or installer who has worked with the same system and can inspect your site.
Sources
Some links are affiliate links.If you buy through them we may earn a commission at no extra cost to you. We do not accept payment for rankings. Read the full disclosure.