Fibreglass installation: how an overlay is built
How a fibreglass pool overlay is installed, from grinding the shell and repairing cracks to resin coats, gelcoat, cure, and the refill that follows.
Fibreglass installation is a five-stage overlay: drain and grind the shell, repair cracks, laminate two or three resin and mat coats, spray the gelcoat, then cure, refill, and balance. Most pools take three to six working days.
- Typical duration
- 3-6 working days
- Installed cost
- $5,000-$12,000
- Service life
- 10-15 years
- Resin coats
- 2-3
Some links on this page are affiliate links.If you buy through them we may earn a commission at no extra cost to you. We do not accept payment for rankings. Read the full disclosure.
Fibreglass installation is a five-stage overlay: drain and grind the shell, repair cracks and hollow areas, laminate two or three resin and mat coats, spray the gelcoat, then cure, refill, and balance. Most residential pools take three to six working days and cost $5,000 to $12,000. The stage that decides whether the finish lasts ten years or three is the grinding, not the gelcoat everyone admires.
What an overlay actually is
A fibreglass overlay is a glass-reinforced resin skin bonded directly to the prepared pool shell, sealed with a coloured gelcoat. It is not a liner dropped into the pool and it is not a paint. The glass mat and resin form the structure; the gelcoat is the water-facing surface.
The result is a non-porous finish with a service life of 10 to 15 years. Water does not penetrate it, which is why algae struggles to root and why chemistry holds steadier than on plaster. The trade-offs are a limited colour range, repairs that show, and no tolerance for a shell that is still moving.
Stage one: drain and grind
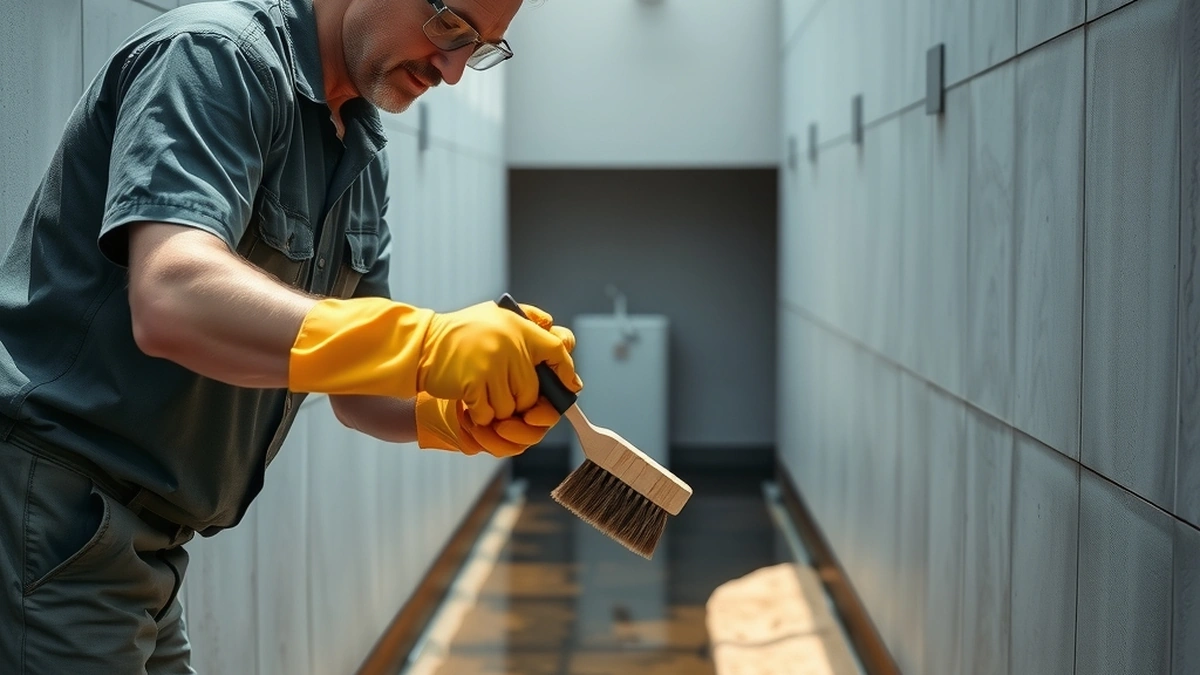
The pool is pumped down and the old surface is ground back with a cup wheel or scarifier. This is not a light scuff. The goal is a sound, profiled substrate with the glaze and loose material removed, because resin bonds mechanically — it needs something to grip.
Two things happen at this stage that owners should watch for:
- Hollow areas are found. Tapping the shell reveals plaster that has separated from the concrete. Those areas must be cut out, not ground flat and covered.
- The shell is exposed. Cracks, rust stains, and previous patches become visible. Photograph them before repairs begin.
A crew that skips the grinding and primes straight over a glossy surface is installing a finish with a known failure date. Delamination signs covers what to look for before you hire.
Stage two: repair
Cracks are opened to a V, filled with epoxy or hydraulic cement, and reinforced. Rusted rebar is exposed, treated, and encapsulated. Fittings, skimmer throats, and light niches are checked and patched.
Repair is the least predictable line in any quote, because nobody knows what the shell looks like until it is ground. A contractor who holds a repair allowance and adjusts at the end is behaving normally. One who promises a fixed price with no allowance is either padding the base or planning to cover problems rather than fix them.
Stage three: laminate
| Stage | Time on a typical pool | What the owner checks |
|---|---|---|
| Drain and grind | 1-2 days | Full surface profiled, hollow areas marked |
| Repair | 1 day | Photos of repairs before covering |
| Laminate | 1 day | Coat count, mat coverage at corners |
| Gelcoat | Half day | Colour match, even coverage |
| Cure and refill | 1-2 days | Fill window honoured |
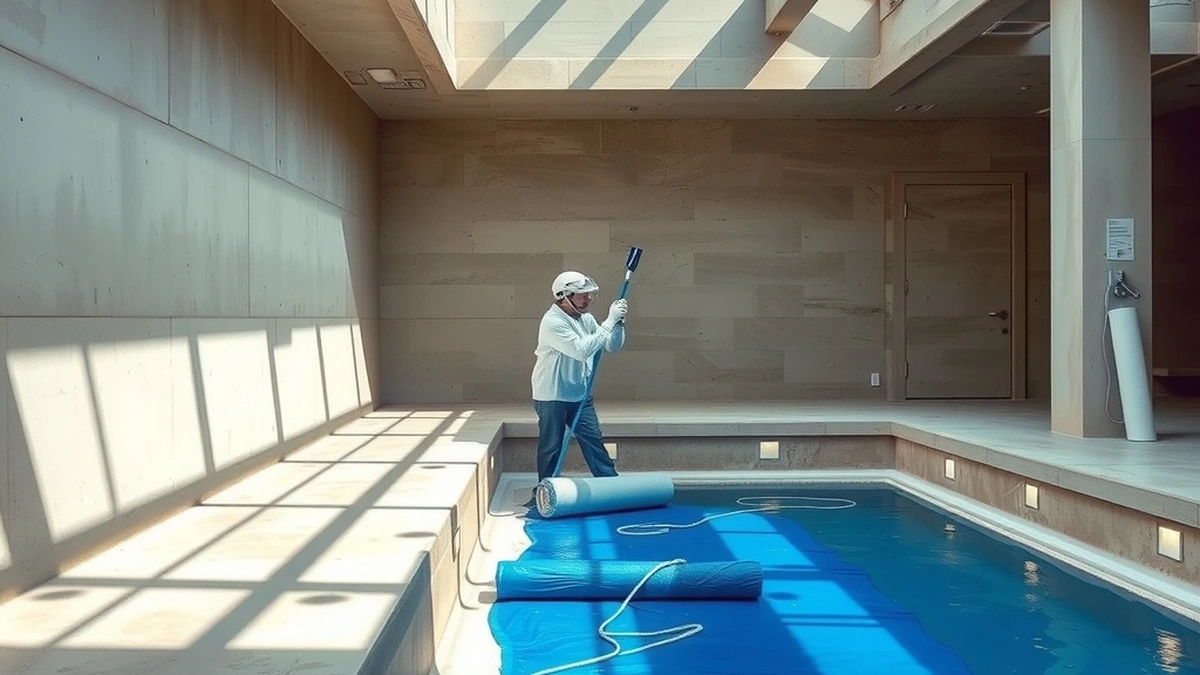
Resin and chopped-strand mat are applied in layers, usually two or three, working from the floor up and paying extra attention to corners, steps, and fitting surrounds. Each layer is rolled out to remove air bubbles; a bubble is a void, and a void is where a blister starts.
Thickness is the thing to ask about. Two coats give a thinner skin than three, and the price difference is real. On a pool that will be used hard, three coats is the better buy even though it will not show on the invoice line.
Stage four: gelcoat
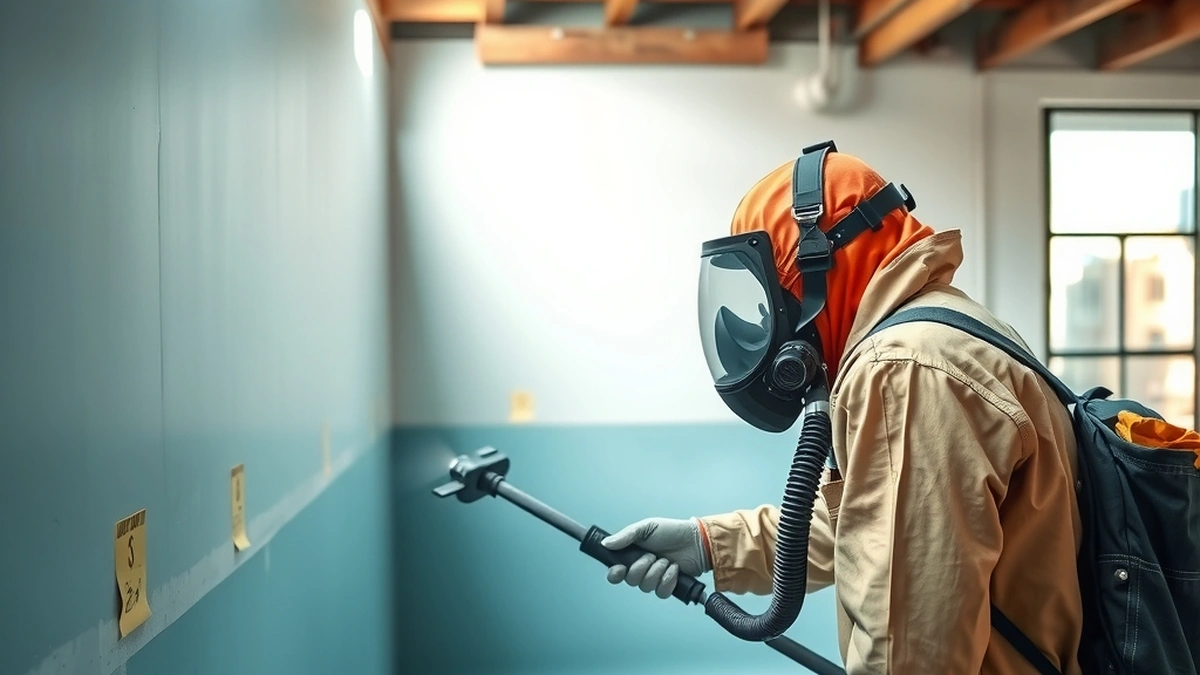
The gelcoat is sprayed or rolled on as the final layer: a pigmented, UV-stabilised resin that provides the colour and the water-facing surface. Coverage needs to be even, and the colour needs to be checked wet, because it shifts as it cures.
This is the stage where owners judge the job, and it is the least structurally important. A beautiful gelcoat over a two-coat laminate on a poorly ground shell is a finish that will blister. A plain gelcoat over three coats on a properly ground shell is a finish that will last.
Stage five: cure and refill
The resin sets within hours and the pool is usually ready to fill the next day. The installer will give a window, and it matters in both directions: too early and the gelcoat can blush or wrinkle, too late and the surface can cure too hard and craze.
Startup after refilling:
- Test the fill water before it goes in, or at least before balancing.
- Bring pH to 7.2 to 7.6 and hold it there for the first week.
- Check total alkalinity at 80 to 120 ppm and calcium hardness at 200 to 400 ppm.
- Run the filter continuously for the first 24 hours and clean it once the water clears.
- Brush the surface daily for the first week to lift any residue.
- Wait before running a heater, and follow the installer’s sheet on how long.
What goes wrong
The recurring defects are blisters, lifting edges, crazing, and colour blotches. Blisters come from moisture trapped under the skin or from resin applied too thin over a damp substrate. Lifting edges come from a bond that never formed. Crazing comes from too much catalyst or from cure at the wrong temperature. Blotches come from uneven gelcoat.
None of these are repaired by adding more gelcoat on top. Blisters have to be opened, dried, and relaminated, which is why fibreglass problems is worth reading before you approve a job rather than after.
The short version
Fibreglass installation is grinding, repair, laminate, gelcoat, and cure, in that order, with the first two deciding the outcome. Ask for the coat count, the repair allowance, and the fill window in writing. For the cost breakdown line by line, see fibreglass cost; for what the finished surface needs afterward, see fibreglass maintenance.
Frequently asked questions
How long does fibreglass pool installation take?
Three to six working days for most residential pools, including drain-down, grinding, repairs, lamination, and gelcoat. Cure and refill add another day or two depending on temperature.
How many coats of fibreglass go on a pool?
Two to three resin and mat coats is normal, building a skin roughly 3 to 5 millimetres thick. Three coats cost more and last longer; ask which is in your quote.
Can fibreglass be installed over an existing plaster finish?
Yes, that is what an overlay is. The plaster is ground back to a sound, rough surface first, and any hollow or delaminating areas are cut out so the new skin bonds to solid material.
How soon can a pool be filled after fibreglass?
Usually the next day, once the gelcoat has cured enough to take water. The installer will specify a window, and filling earlier or later than that window both cause problems.
Does fibreglass installation smell strongly?
Yes. Polyester and vinyl ester resins give off strong styrene vapour during lamination. Expect the neighbourhood to notice, and expect the crew to be wearing respirators.
Can a homeowner install fibreglass themselves?
Not realistically. Resin mixing, lamination, and gelcoat spraying need equipment and practice, and a poor bond fails within a few seasons. This is not a DIY resurfacing method.
Sources
Some links are affiliate links.If you buy through them we may earn a commission at no extra cost to you. We do not accept payment for rankings. Read the full disclosure.