Pebble installation: the six-stage process
How a pebble pool finish is installed, from chip-out to wash-back and startup, with the checks to make at each stage and the cure rules that follow.
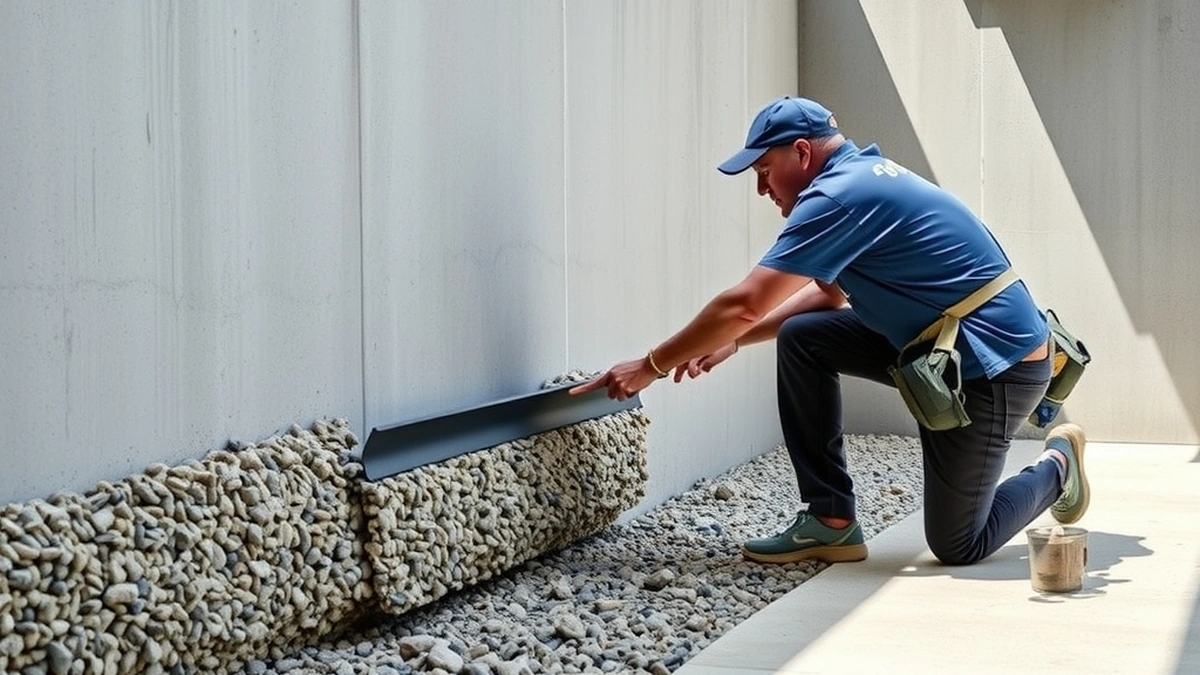
Pebble installation is a six-stage job: drain and strip the old finish, repair the shell, apply a bond coat, trowel the aggregate mix, wash back the surface to expose the stone, then fill and balance for a 28-day cure.
- Typical duration
- 5-8 working days
- Cure period
- 28 days
- Installed cost
- $8,000-$15,000
- Surface life
- 15-20 years
Some links on this page are affiliate links.If you buy through them we may earn a commission at no extra cost to you. We do not accept payment for rankings. Read the full disclosure.
Pebble installation is a six-stage job: drain and strip the old finish, repair the shell, apply a bond coat, trowel the aggregate mix, wash back the surface to expose the stone, then refill and balance the water for a 28-day cure. Most residential pools take five to eight working days. The stage that decides the outcome is not the troweling — it is the stripping and repair that happen before any pebble is mixed.
What an exposed aggregate finish is
A pebble finish is a cementitious mix carrying small river stones, applied over a bond coat and then worked so the stones sit at the surface rather than under a skin of cement paste. The result is a hard, textured surface with an expected life of 15 to 20 years, longer than plaster or quartz, at an installed cost of $8,000 to $15,000.
Because the aggregate is exposed mechanically and chemically rather than being part of a smooth troweled skin, installation is less forgiving than plaster. Timing the wash-back is the visible skill; getting the shell sound beforehand is the invisible one.
Stages one and two: drain, strip, and repair
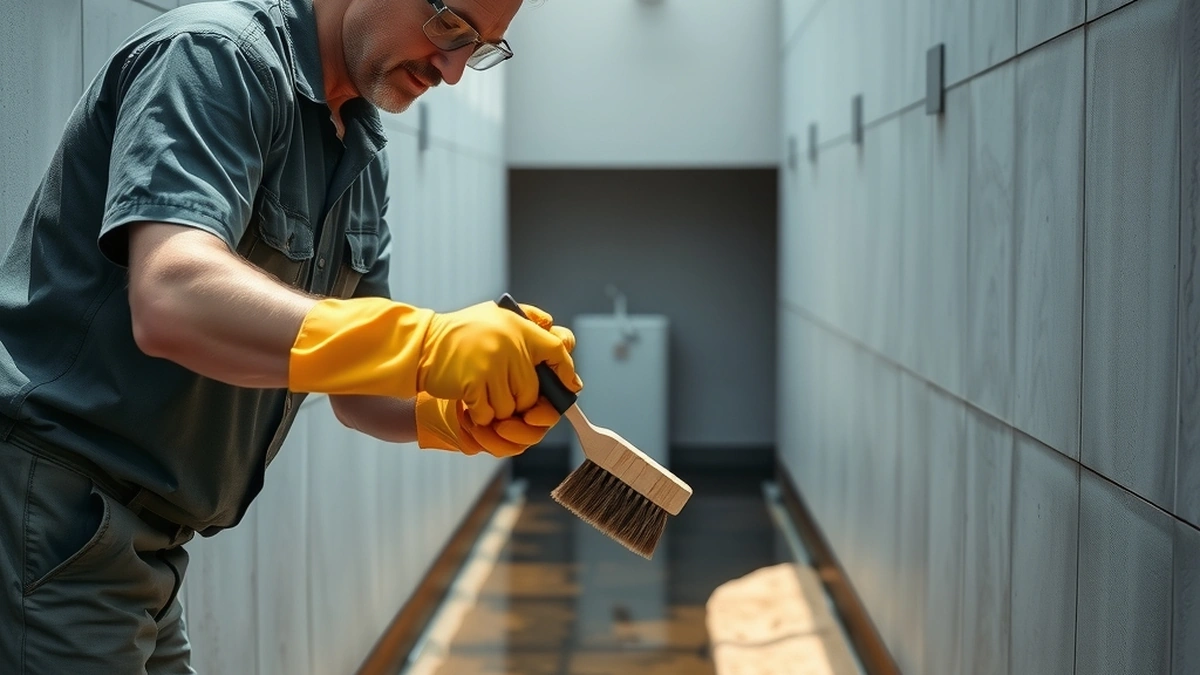
The pool is drained, usually pumped down over a day, and the old finish is removed by chipping hammer or sandblast. This is the loudest and dirtiest part of the job, and it is where the true condition of the shell appears.
What to check as an owner:
- Whether the old finish came off in sheets (a bond failure underneath) or in chips (normal wear)
- Whether any cracks were exposed that were not visible when the pool was full
- Whether the contractor inspects and documents what was found before quoting repairs
Skipping to a bond coat over a surface that is already delaminating traps the failure. It will show up again in three to five years, and no aggregate grade prevents it. Delamination signs covers what to look for before the job starts.
Shell repair
Cracks are cut open to a V, cleaned, and filled with hydraulic cement or epoxy. Rusted rebar is exposed, treated, and coated. Fittings, skimmer throats, and light niches are checked for leaks and patched.
This stage is the least predictable line on any quote, because nobody knows what is under the old surface until it is gone. A contractor who prices generously here and adjusts at the end is behaving normally; one who promises a fixed price with no repair allowance is either padding elsewhere or planning to skip the work.
Stage three: bond coat
A cementitious bond coat is applied to the prepared shell to give the new aggregate something to grip. It goes on the same day as the finish in most crews’ sequence, or the evening before, and it is the layer that determines whether the pebble stays attached.
A bond coat is not a shortcut past removal. It is a legitimate part of a full resurface, and it is the entire method when someone offers to “resurface over” an existing sound surface at a lower price. That option exists, and it can be sound on a pool with a well-adhered finish — but it is a different product with a shorter expected life.
Stage four: troweling the aggregate
| Stage | Time on a typical pool | What the owner checks |
|---|---|---|
| Drain and strip | 1-2 days | Debris removed, cracks documented |
| Shell repair | 1-2 days | Photos of repairs before covering |
| Bond coat | Same day or evening before | Full coverage, no dry patches |
| Trowel application | 1 day | Crew size, mix consistency, wall thickness |
| Wash-back | Same day, within hours | Uniform stone exposure |
| Fill and startup | 1-2 days | Fill water tested before and after |
The mix is applied by hand trowel or spray, worked into corners and around fittings, and left to set until it holds a thumbprint but does not smear. Crew size matters more than equipment: a large pool needs enough hands to keep the whole surface at the same stage, or the wash-back starts on one wall while another is still being troweled.
Stage five: wash-back
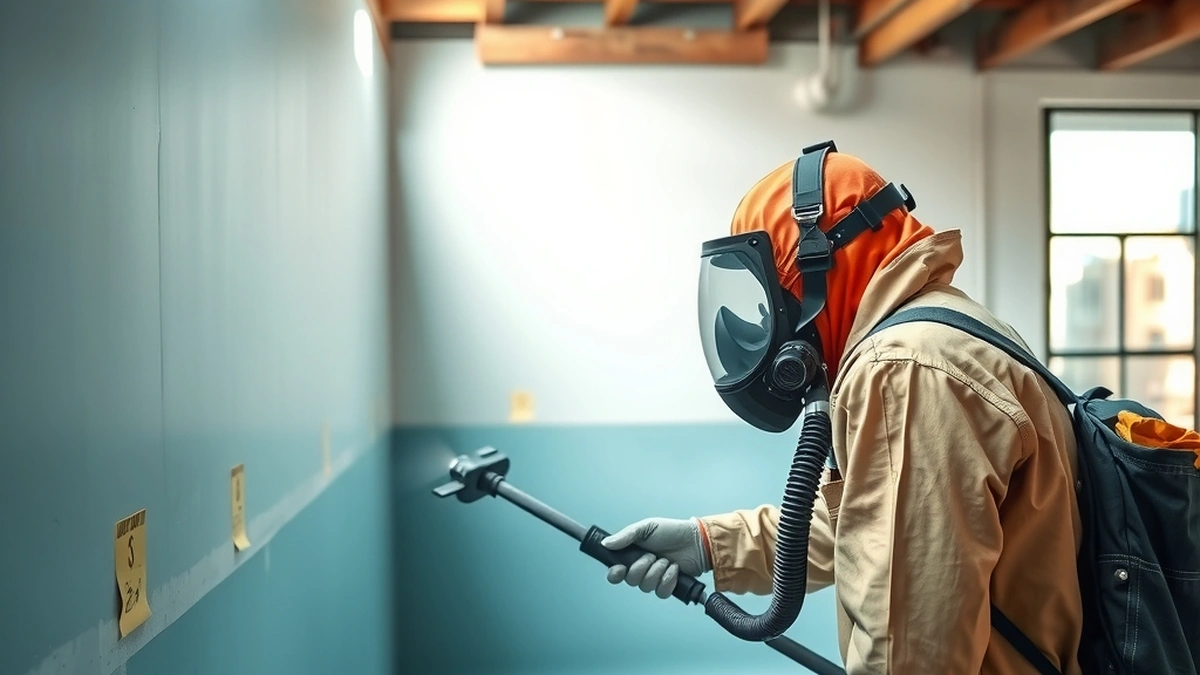
This is the step that makes pebble look like pebble. Once the cement has set enough, the surface is washed with water and a mild acid solution to remove the cream and expose the stone. Too early and the stones wash out; too late and the surface stays smooth and gray.
The wash water is captured and neutralized, not dumped into a storm drain. If you see wash water running down the street, that is a compliance problem as well as a sign of a rushed crew.
Stage six: fill and startup
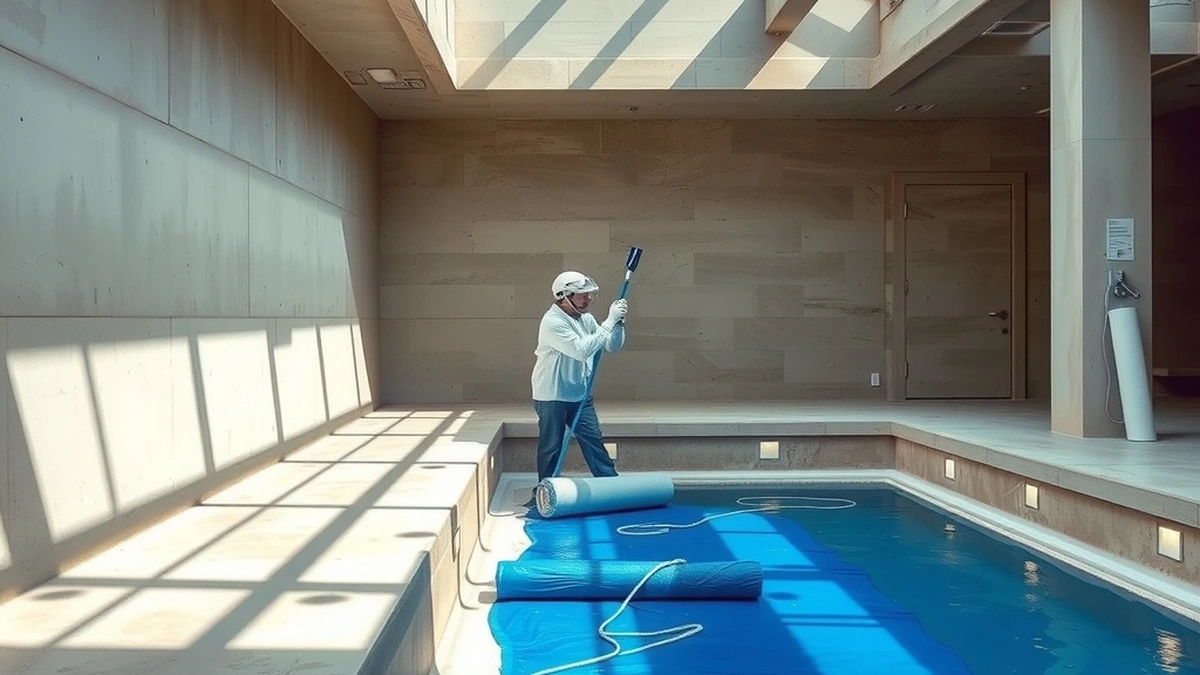
The pool is refilled, ideally with the fill water tested first so hardness and metals are known before they hit a fresh surface. Then the 28-day cure begins:
- Test pH daily for the first week and hold it near 7.4.
- Keep total alkalinity at 80 to 120 ppm.
- Bring calcium hardness up if the fill water is soft, so the surface does not give up calcium.
- Brush the entire surface twice a day for the first week, then daily for the rest of the month.
- Keep the heater off for at least two weeks, and follow the installer’s sheet on when it can run.
- Do not shock with calcium hypochlorite during the first month.
Skipping the brushing is the most common owner-side mistake. Fresh cement releases fines, and brushing moves them into the filter instead of letting them settle into the surface.
What commonly goes wrong
Mottling, rough patches, and stone loss are the three recurring installation defects. All three trace back to the same window: mix consistency and wash-back timing. A finish that looks chalky and uniform in week one can look blotchy in month three, which is why the punch list should be signed after the pool is full and running, not on the day of application.
The longer-term failure modes are covered in pebble problems, and the maintenance schedule that protects the finish is in pebble maintenance. If you are weighing whether to attempt any of this yourself, DIY pool resurfacing is honest about which stages are realistic for a homeowner and which are not.
The short version
Pebble installation is a preparation job with a decorative finish on top. Strip fully, repair honestly, bond properly, trowel with enough crew, wash back on time, and manage the water for 28 days. Do those things and the surface reaches its fifteen to twenty years. Cut any of them and the aggregate grade will not save it. For what the job should cost line by line, see pebble cost.
Frequently asked questions
How long does pebble pool installation take?
Most residential pools take five to eight working days from drain-down to refill. Large pools, heavy repairs, or cold weather can push it past two weeks.
Can you swim right after pebble installation?
Usually within three to five days of refilling, once the surface has set, but full cure takes about 28 days. Brushing and chemistry control continue through that month.
Why does the installer wash the surface with acid?
A light acid wash removes the cement cream from the top of the new finish so the aggregate is exposed. It is part of installation, not the maintenance acid wash that strips scale later.
Does pebble installation require draining the pool?
Yes. A full resurface needs the shell dry and accessible. There is no meaningful way to install an exposed aggregate finish underwater.
What happens if it rains during pebble installation?
Rain on fresh cementitious finish can pit the surface and wash out cream. Installers cover the pool or stop work, and a finish damaged this way usually needs to be redone, not patched.
How soon can the pool be heated after resurfacing?
Wait at least two weeks, and follow the installer's startup sheet. Heat accelerates curing and can drive minerals into a surface that has not fully set.
Sources
Some links are affiliate links.If you buy through them we may earn a commission at no extra cost to you. We do not accept payment for rankings. Read the full disclosure.